1. Getting Started

2. Install Template

3. Edit Content

Thank you so much for purchasing our product

We hope that you find all your questions regarding this Elementor Template Kit answered in this Documentation in as much detail as possible. However, if you still need support, do not hesitate to contact us.

1. Getting Started

Require Server/Hosting with some config :

2. Install Template

Step 1 : Install Elementor Website Builder

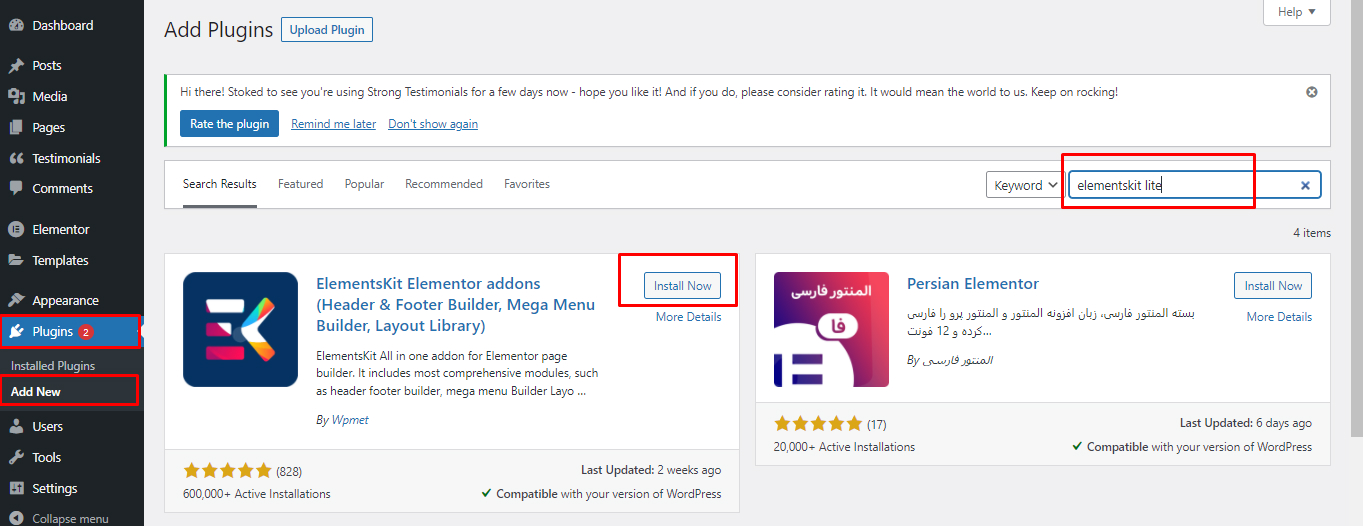
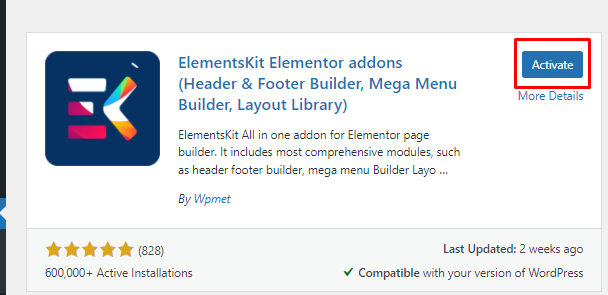
on the WordPress Dashboard, go to Plugins > Add New, type the plugin to be installed in the Search Plugins... column, namely Elementor Website Builder, click Install Now, then click Activate.

Step 2 : Install Theme

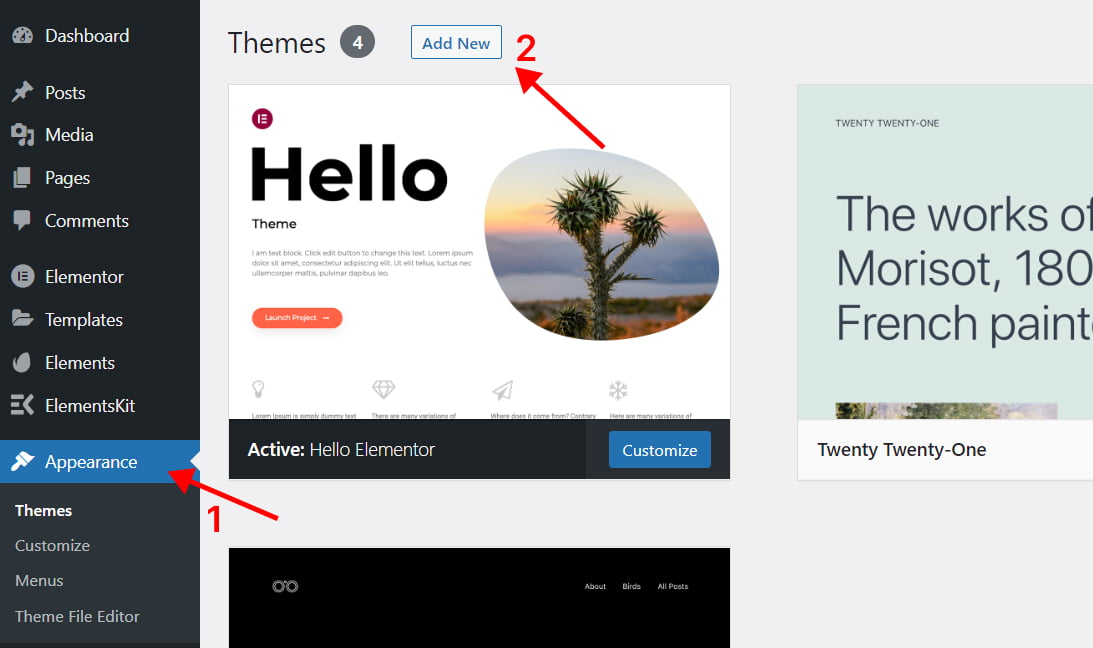
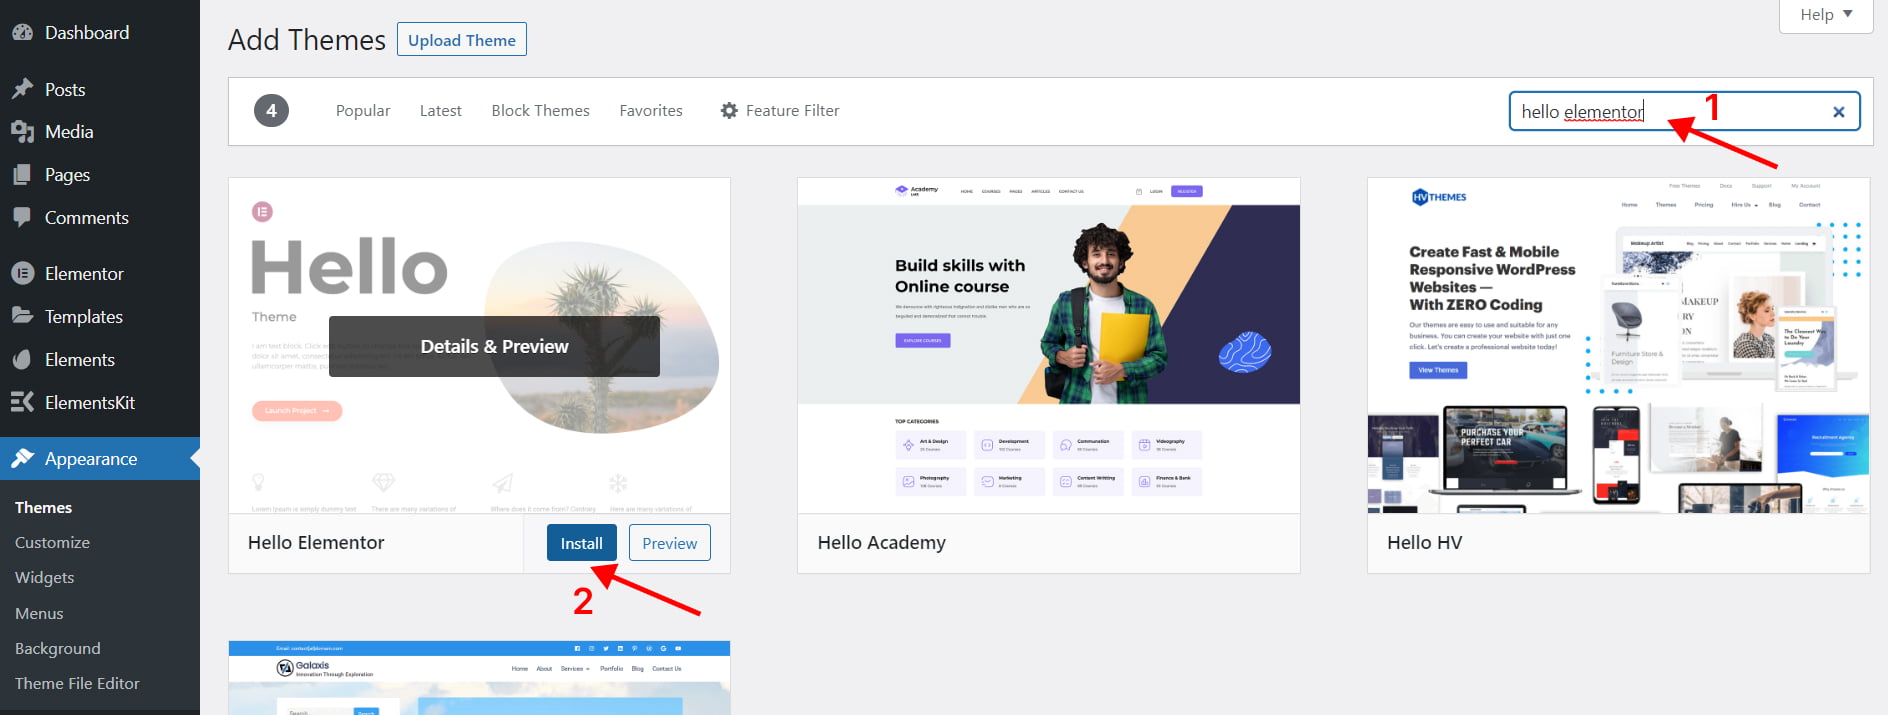
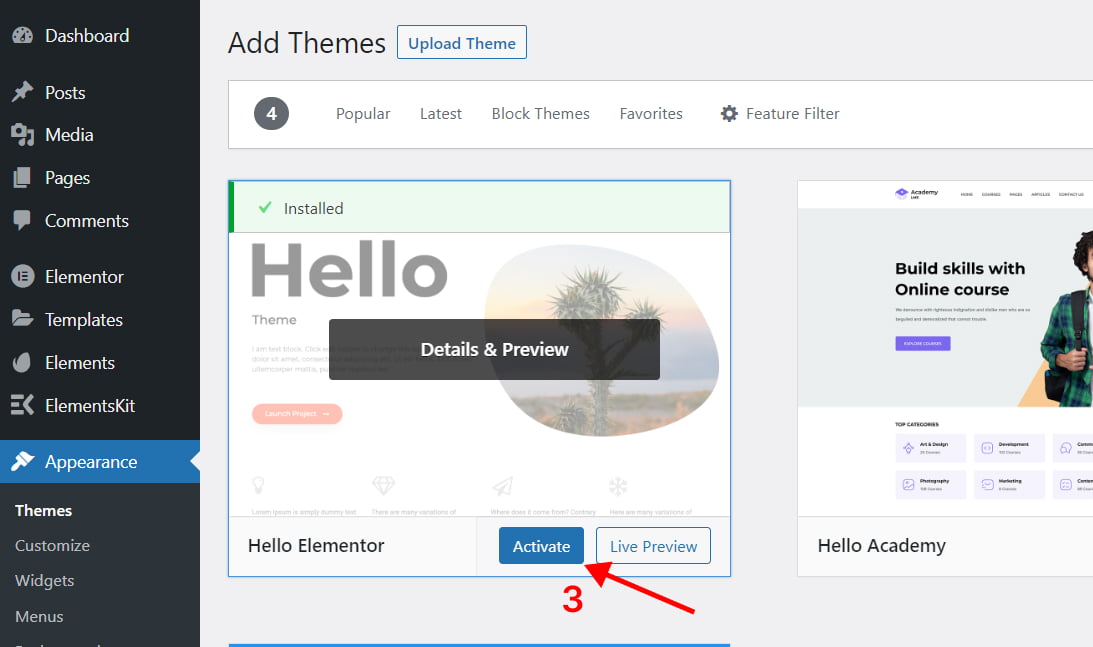
On the WordPress Dashboard, go to Appearance > Themes > Add New, type in the search field the theme name : Hello Elementor. Click Install, than click Activate.

Step 3 : Import Templates

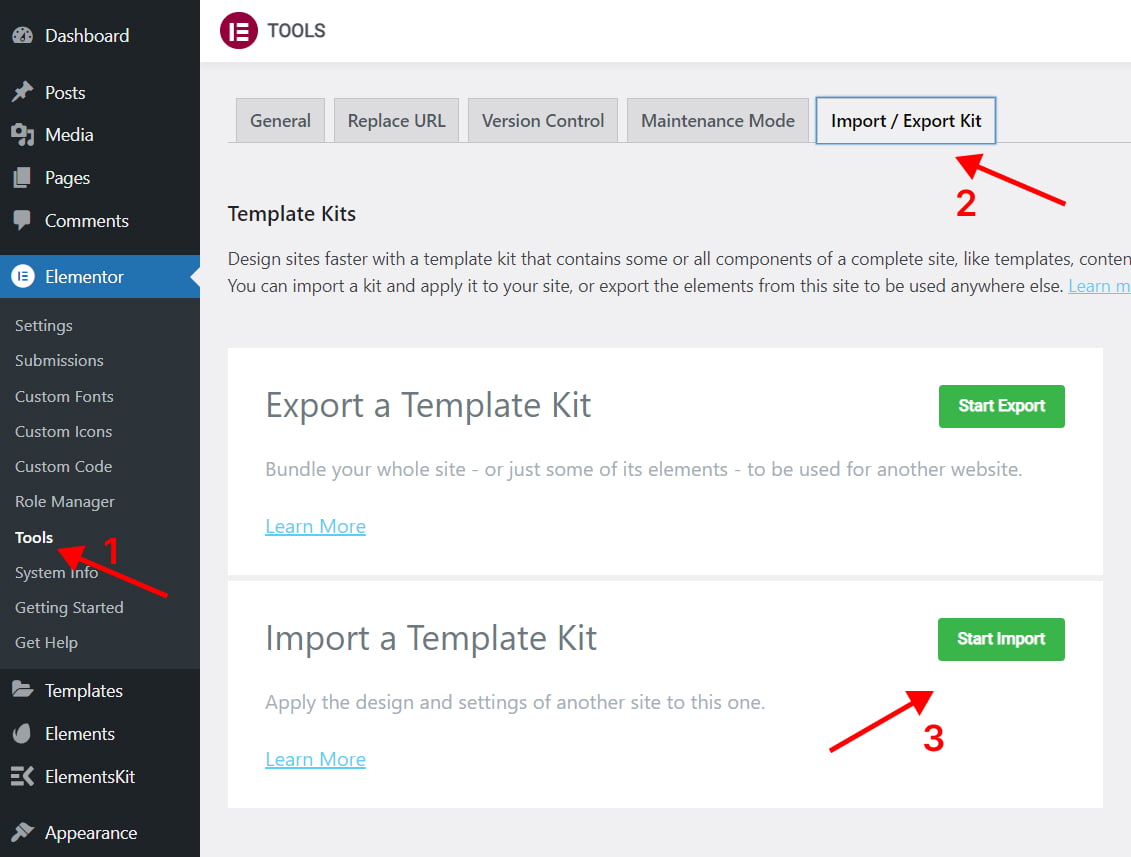
On the Dashboard, go to Elementor > Tools, click the Import/Export Kit tab, click the Start Import button below.

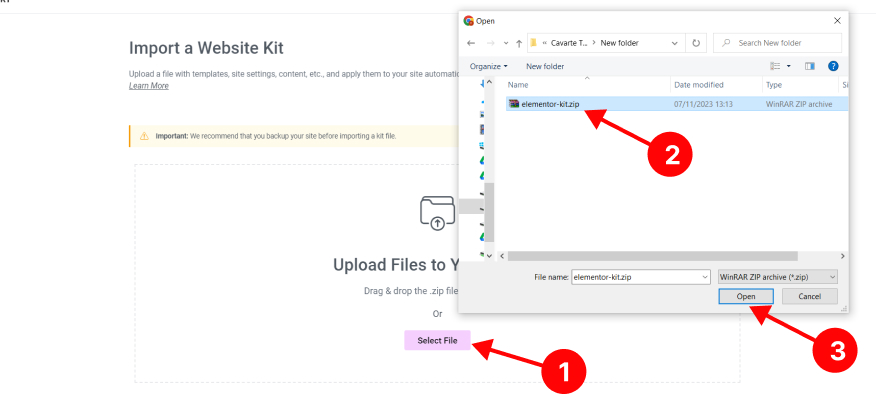
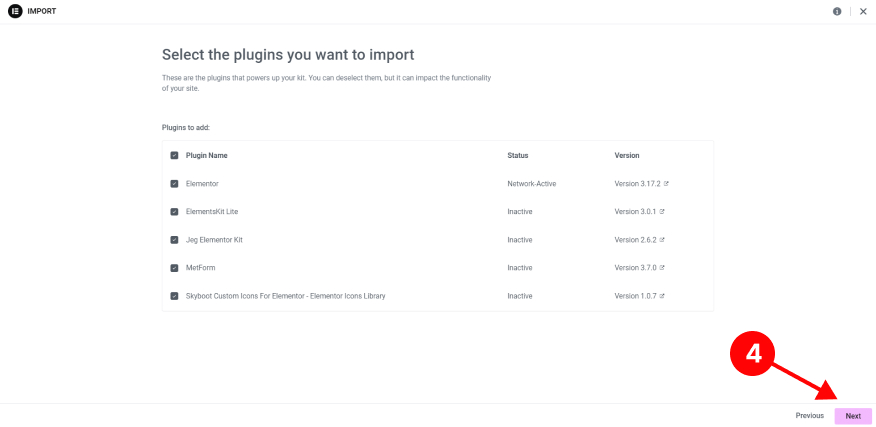
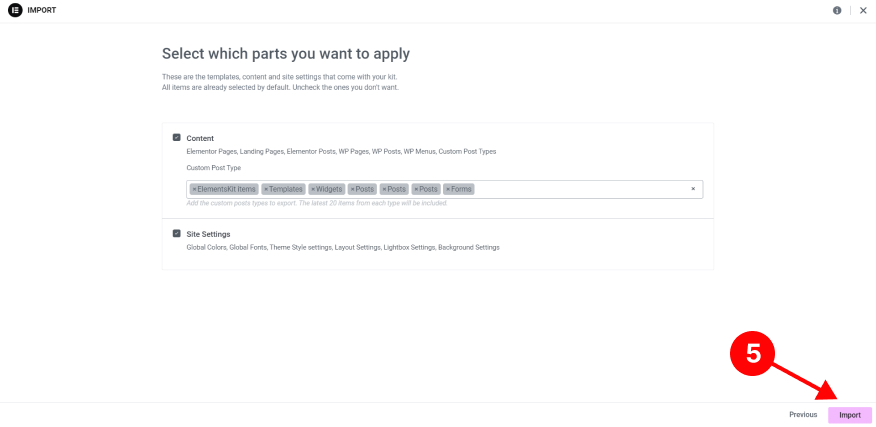
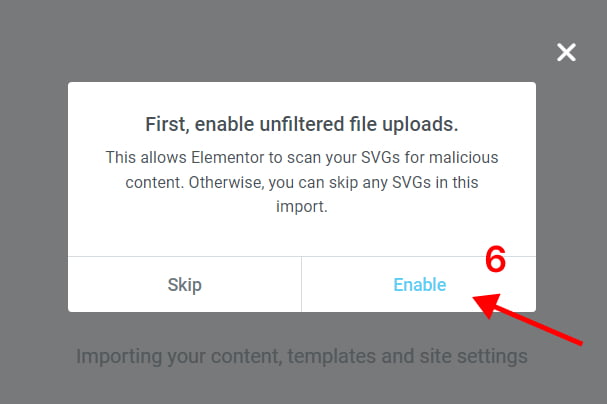
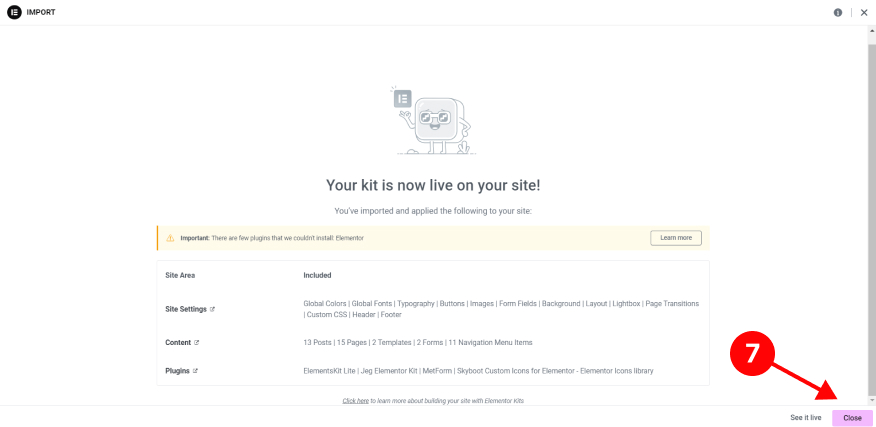
After that, click the Select File button. Select the .zip file you want to install, then click Open, if a warning box appears, click continue. Click Next, then click Import. If there is a Request for Permission box, select Enable. The installation process will start. When finished, please select Close to return to the Dashboard.
Done and your website is already live. Next you only need to change the content and some parts according to your needs.

Step 4 : Setting Up Plugin

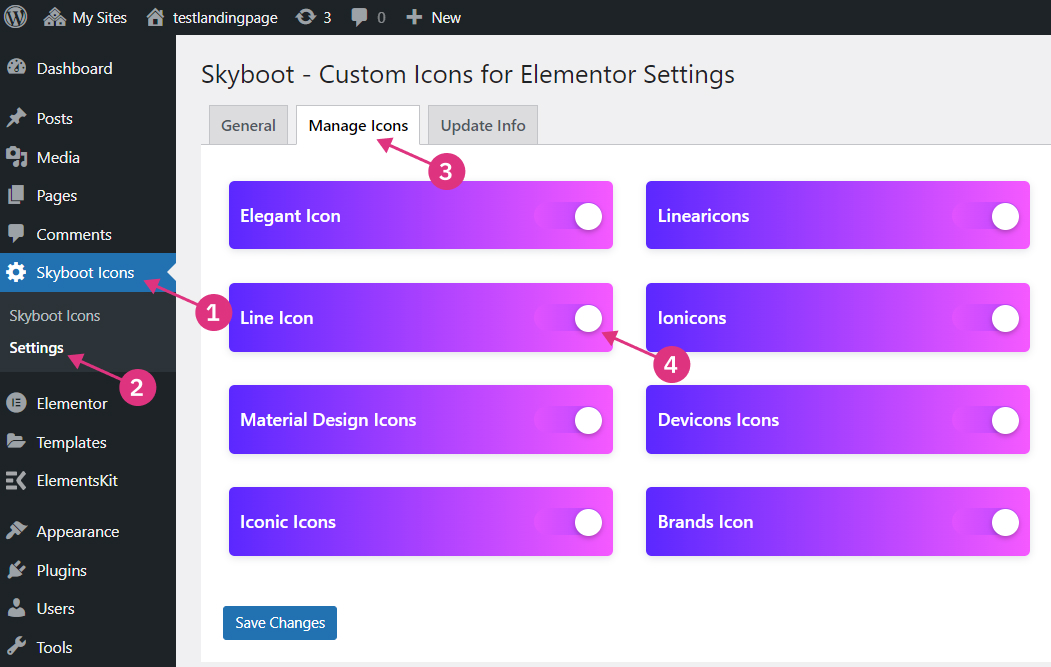
From the Dashboard, select the Skyboot Icons > Settings menu. Click the Manage Icons tab and slide all the icon type buttons to the right.

3. Edit Content

Step 1 :

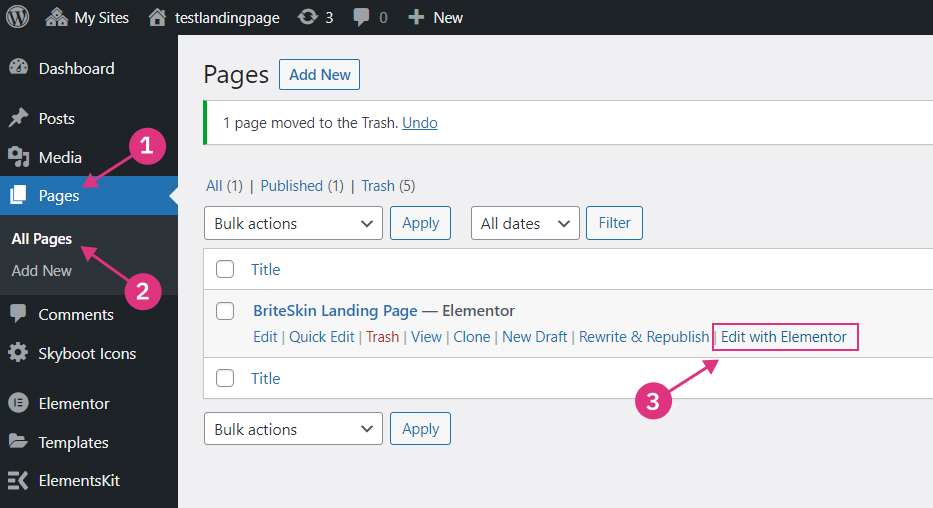
On the Dashboard page, select Pages > All Pages, navigate to the pages to be edited, click Edit with Elementor.

Step 2 :

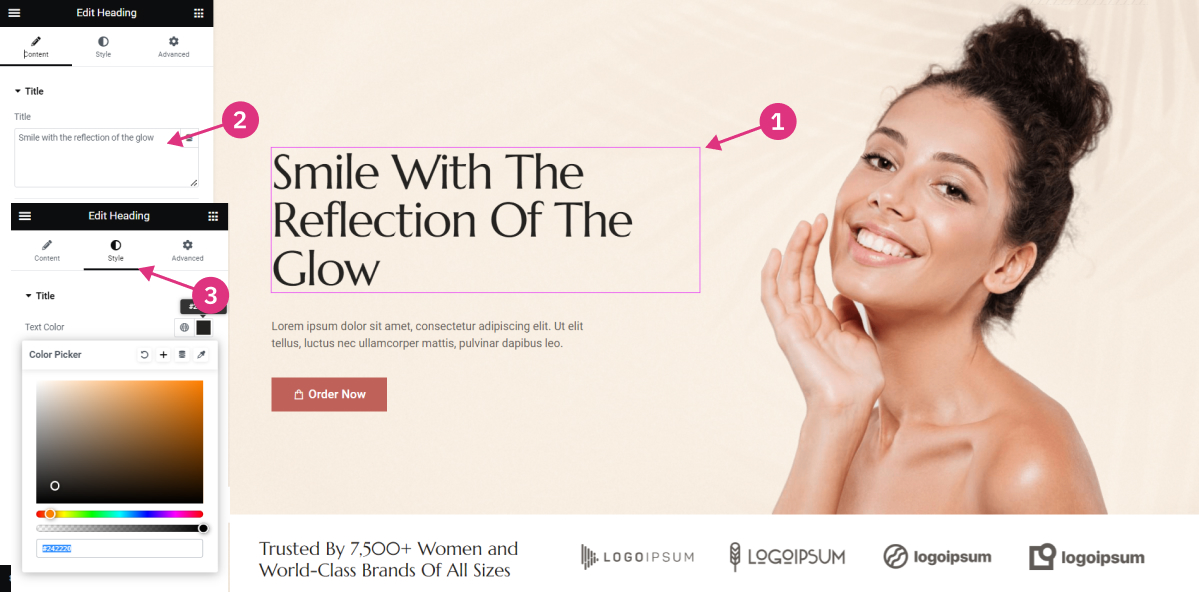
After entering the Elementor Editor page, you can change the Title, Text, Color, Image or URL link according to what you want.

2a : Edit Title, Paragraph, & Color

Click on the title/paragraph that you want to change, then enter the text you want in the column on the left. And you can also change the color by clicking the Style tab in the left column, then clicking on the color box.

2b : Edit Image

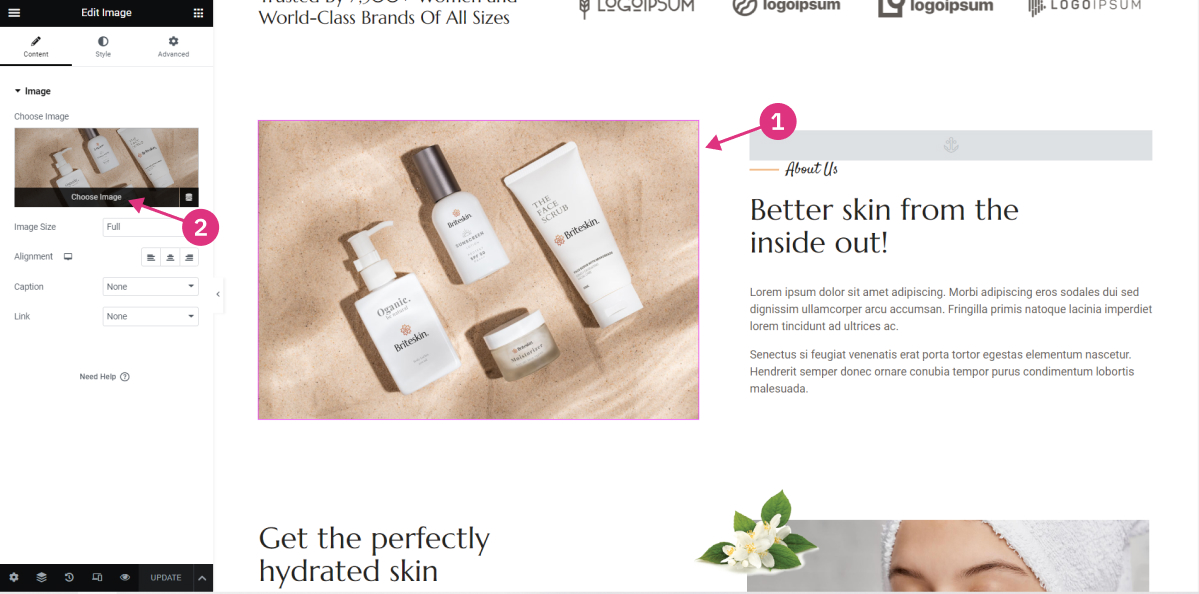
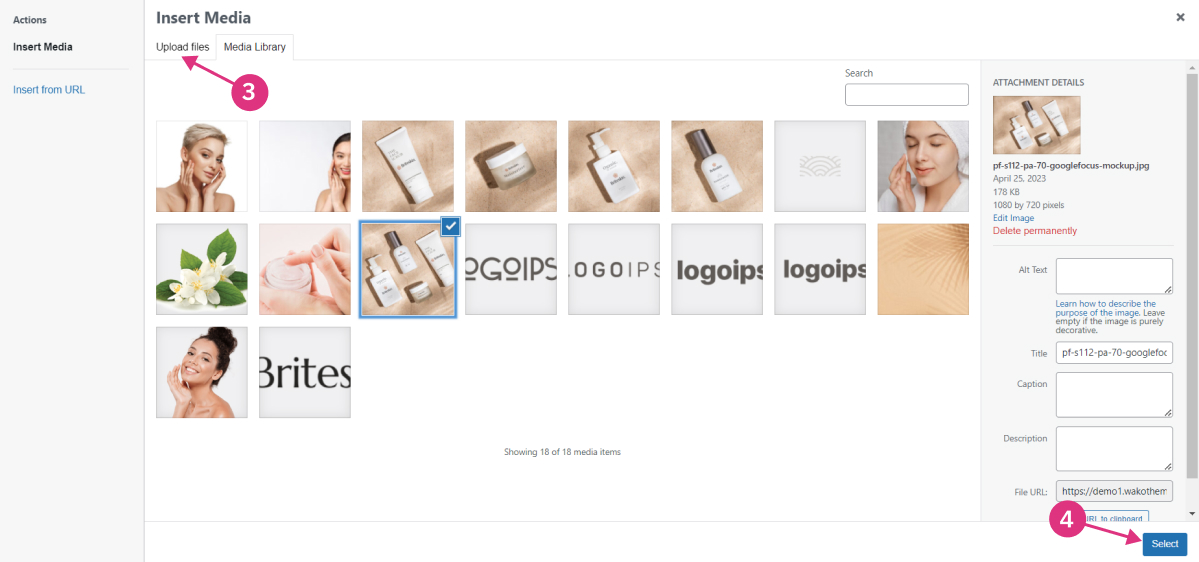
Click on the Image/Photo you want to change, in the left column click Choose Image, and select the image you want or select Upload files if you want to upload image files from your PC/Computer.

2c : Edit URL links

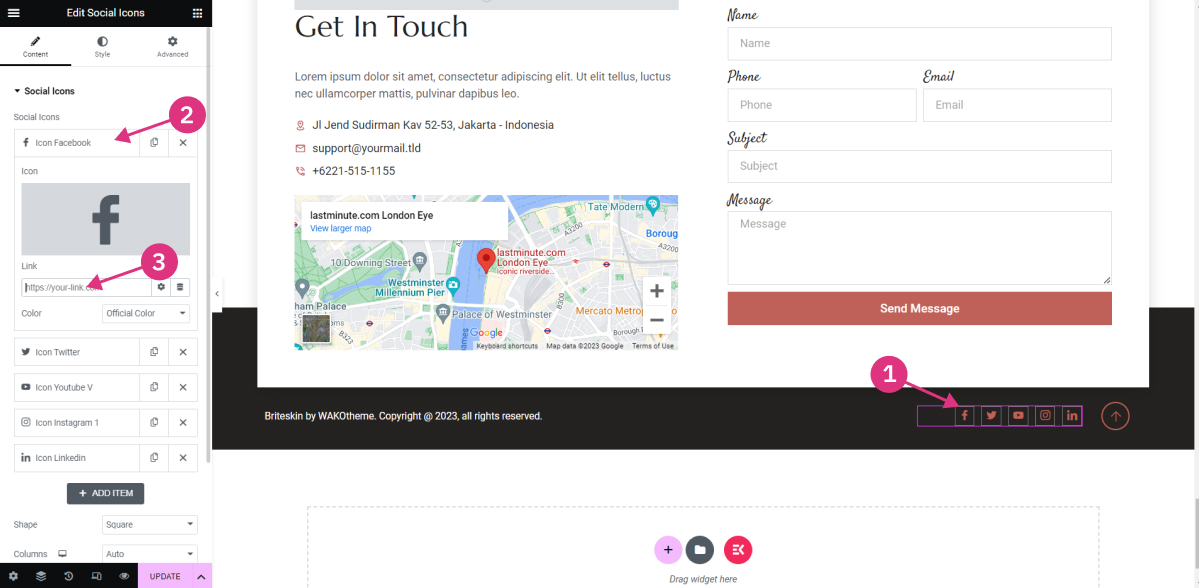
Click on one of the elements that you want to change, for example Social Icons, Click on the social media box in the left column, then enter the url according to your url address.